
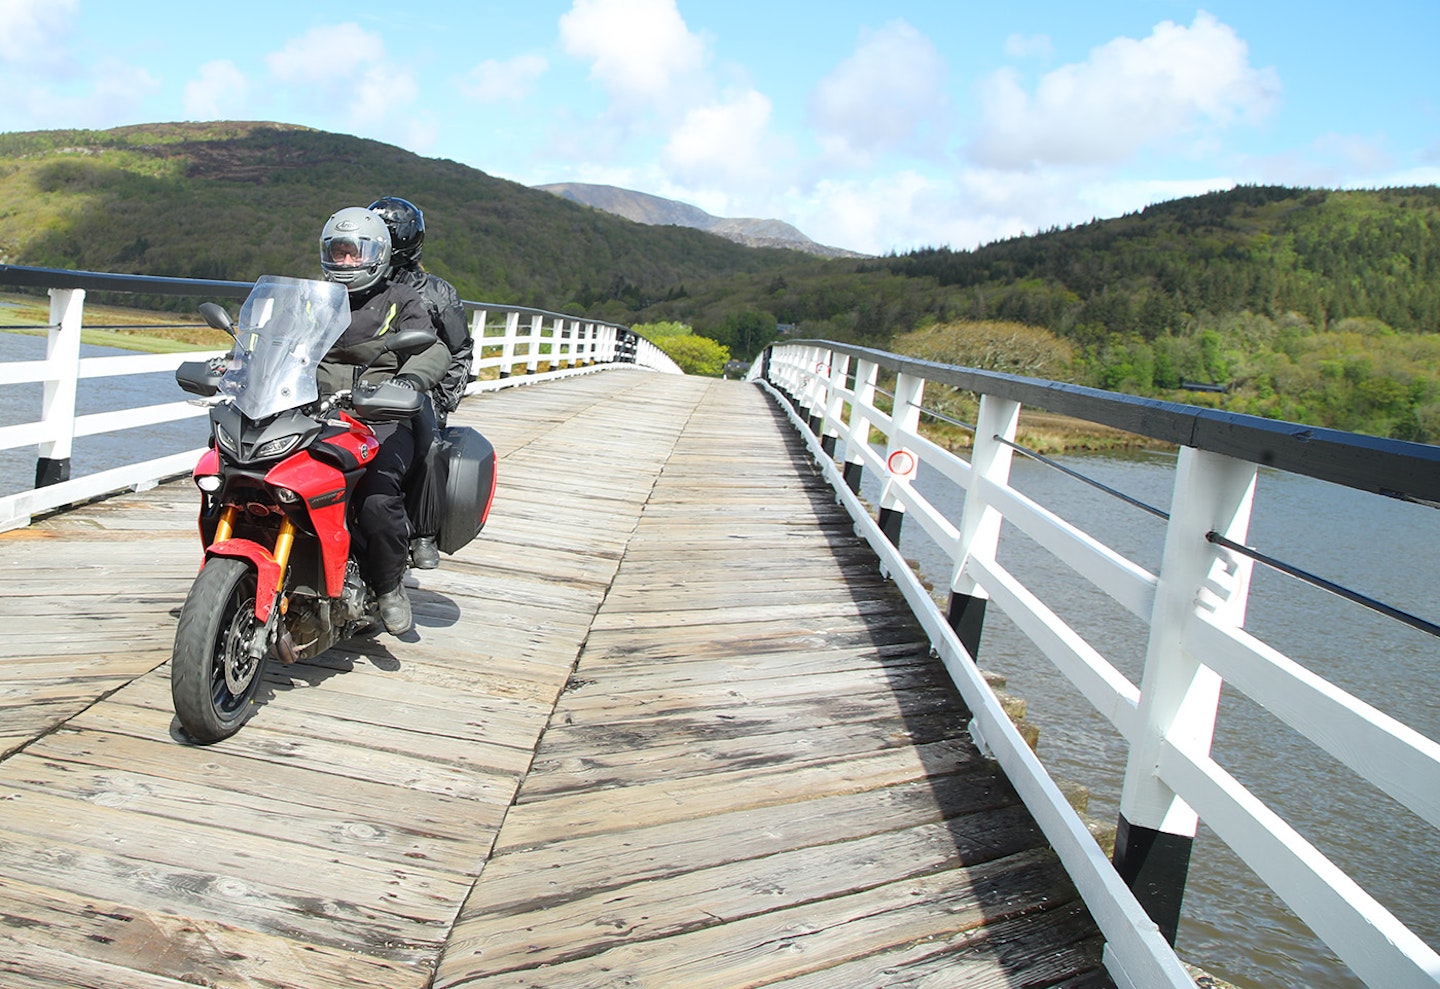
Riding advice
Whether you’re about to start learning to ride, you’re fresh in the saddle, or you’re an experienced motorcycle rider, none of us ever stop learning. Bennetts BikeSocial has some of the most valuable tips and advice for becoming an even better rider, with experts including the most advanced riding instructors, serving and retired police officers and even top motorcycle racers to help you get more from motorcycling. Riding safer doesn’t have to mean riding slower, and it certainly doesn’t mean having less fun: the more naturally you can control a motorcycle, the more you’ll enjoy it…
You might also be interested in
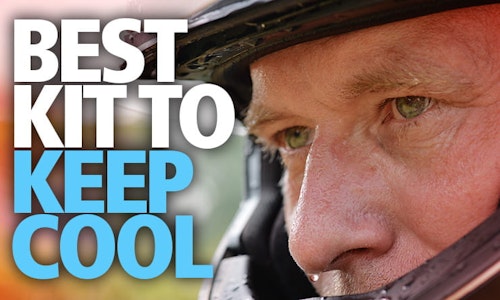
Best motorcycle clothing for hot weather
BY John Milbank10/07/2025

Motorbike Insurance for Young Riders/Learners
BY

A Comprehensive Guide to which circuits offer Motorbike Track Days in the UK
BY Adam (Chad) Child07/08/2019

Motorbike Insurance
BY

What size motorcycle should I buy? | Choosing the right bike
BY BikeSocial04/03/2020

Get the most from your membership
BY

Motorcycle riding courses - ride better this summer
BY Kev Raymond19/04/2023

Get a quote
We search our panel of insurers to find you our best price for the cover you need


